

This month I am putting up an upholstered Parsons chair. This is a good all around chair to have and easy to make.

These are Nancy's beautifully executed patterns. Please refer to the "Things to do, Things to see" list at the left for directions on "HOW TO RE-SIZE THE PATTERNS".

I cut out my seat base and cushion pattern to trace onto 3/16" foam core. I buy this at Michael's and Wal-Mart. Most of the time the brand is "Elmer's".

I cut out 7 of these squares.

Glue 6 of the squares together with tacky glue.
Use a square to make sure the sides are straight and all are at a 90 degree angle from the table top.
Leave one square for the seat cushion.

A picture of the tacky glue I use.

For the next piece of the pattern to be traced onto I used packaging from the kitchen. This is a snack cake box, you can also use a cereal box. I would also use poster board, but I happened to have this so I used it.

Showing the back side of the packaging.

Trace the back pattern twice onto the poster board/packaging and once onto the foam core.
Set the stack of seat bases up to the backs and trace a line across the top of the seat bases onto the backs.

This is the yellow carpenter's glue I want you to use to glue the two backs together.
I use Elmer's or Titebond.

We are robbing the kitchen today, aren't we??
I used a 2 pound can of coffee shape my back on. This is 6 1/8" in diameter, that's across, not around. Get something close.

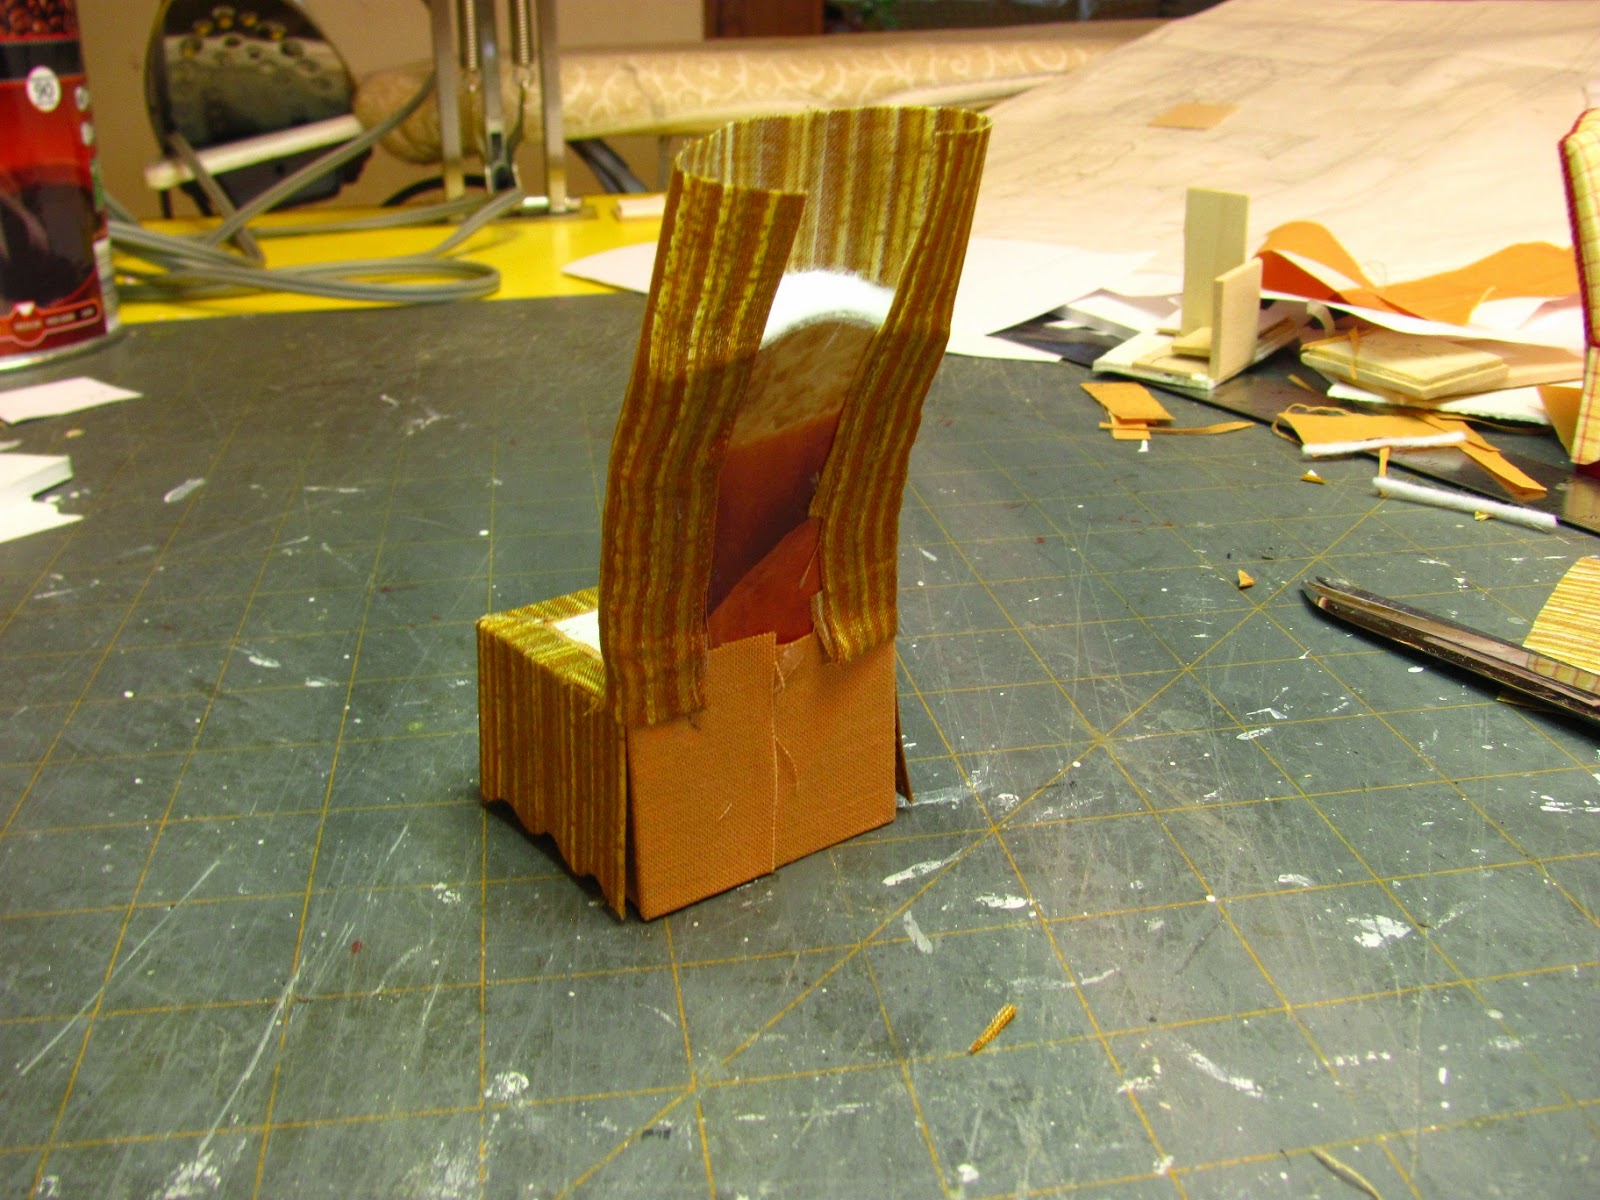
Apply yellow glue to the backs, align the backs and press over the side of the can. Press only to the line you drew. The part that is not being pressed around the can is where the seat base will be glued to. We are putting a slight curve in the backs so the chair is comfortable to sit in. Hold it there for a couple of minutes for the glue to tack up.

Nice soft curve. Don't glue it onto the seat base, yet.

Set the foam core back up to the seat base and draw a line.

Cut the bottom off.

Use a straight edge and your craft knife to make slices into the foam core back cushion, NOT THROUGH the foam core. We are cutting the top paper and the foam part, not the back paper.
I made my lines around 3/16" apart all the way down to the bottom of the back cushion.

Showing you what it looks like with the slices cut.

Use yellow glue to glue the foam core back cushion onto the poster board backs.

Cut a strip of card stock to fit the seat base. Use tacky glue to glue the card stock around the seat base.

I used yellow glue to glue the back to the seat base.
I would really like you to leave the chair for a few hours for it to get good and dry. Let that curve harden up.

After we've taken a break we can upholster the chair.
Cut a piece of fabric 7 1/2" long.
About fabric, I use 100 percent cottons, they glue, all of the time. They are thin and easy to work with. I usually buy the fabric from the quilting fabrics area of a fabric store.

Cut the strip about 2" wide.
.JPG)
This is the glue I use to glue fabric to card stock. I buy this from Michael's, it's in their scrap booking section. Wal-Mart also carries it in the crafts department.

Start the strip of fabric at the back.

Apply the glue stick and wrap the fabric around the seat base.

Wrap the fabric all around, you will have to trim the fabric. Ideally we don't want the fabric to overlap, but that's all right if it does.

Cut the fabric at the sides of the back cushion to allow the extra fabric to lay over onto the top of the seat base for gluing.

Apply tacky glue to the top of the seat base and glue down the extra fabric. Cut off the little triangles of fabric at the corners.

Glue the extra fabric down to the bottom of the seat base.
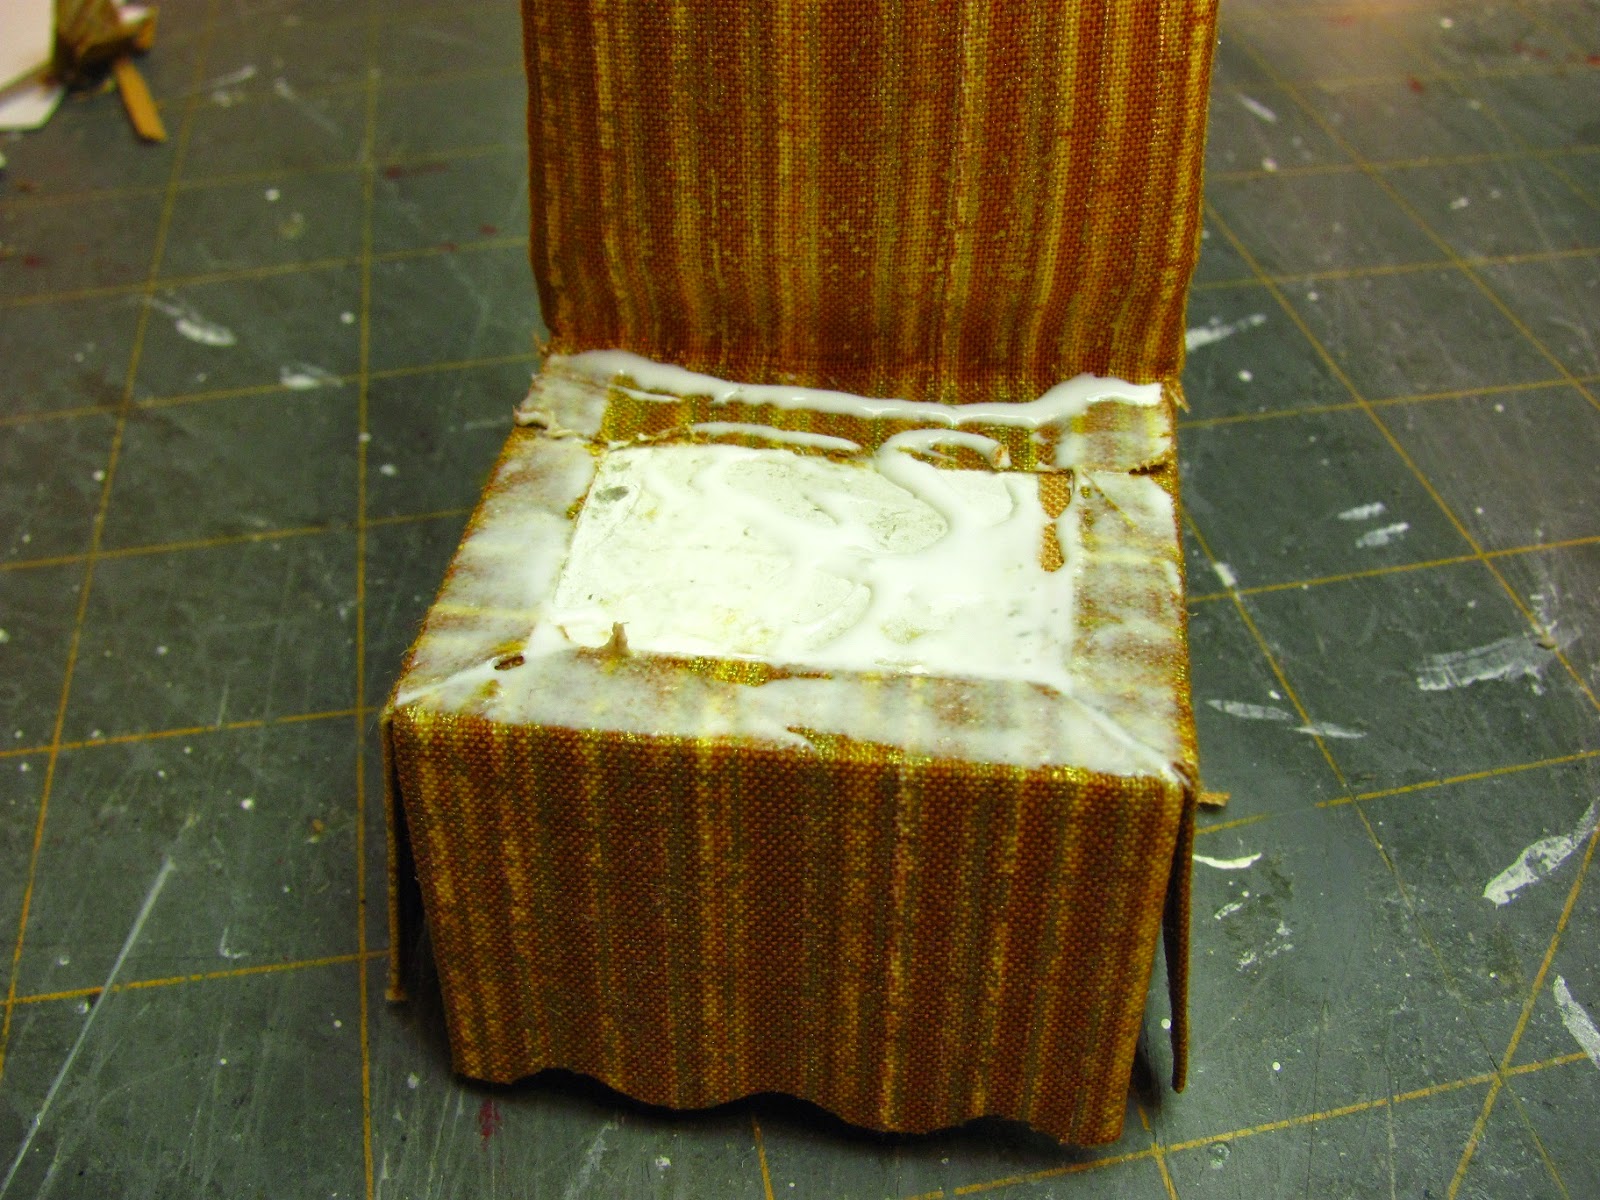
Cut a square of fabric to fit over the raw edges of the fabric on the bottom of the seat base and glue onto the bottom. I used tacky glue for this.
When you use tacky to glue fabric be sure to smear it out. Don't leave any globs, these will soak through the fabric.

Trace the skirt pattern onto card stock 3 times. I have mine all even at the edge of the card stock. I have made a mark at the dotted line near the top at each end.

Align a straight edge at those marks and use the back of your craft knife to score a line across the top of the skirts.

These are the fold lines and since we made them all at the same time the skirts will be even along the bottom edge of the chair.
A note about card stock. You don't have to go out to buy this, Christmas, birthday or any other special occasion cards you receive can be recycled for your miniatures. I know I should have put this up on the blog before this but we just went through an election; I don't know about you but I received a ton of beautiful card stock mailers from candidates, this is good stuff to save. As long as the printing doesn't show through your fabric it's really nice quality card stock to use. P.S. I just tried sanding the color off of the candidate's mailers, I used 300 grit sand paper and it took most of the color of without roughing up the surface.

I am applying glue stick to one of the skirts.
I am using a piece of glossy computer photo paper. For some reason the glue stick dries on this and I can re-use it over and over, as you can tell.

Lay your glued card stock onto the fabric and press to seal.
Trim the fabric as in the picture.

Use tacky glue to glue the fabric to the back side of the card stock.

The sides are glued, the scallop is glued and the top is folded down.

Showing the right side of the skirt.

I've clipped the corners off on the fold over area of the skirt. When the other skirts are glued on I don't want any over lapping at the corners.

I am using tacky glue to glue the skirts on.
On the side skirts you will have to clip the fold area where the back is attached and glue this tab onto the side of the back. Don't forget to clip off the corner of the fold over area that's at the front corners.

Showing the skirts glued on.

For the padding under the upholstery I use Thermolam Plus, I buy this at Joann's or some Wal-Marts carry it, also. Watch the label, don't buy the "iron on" kind.
The first layer of TP (Thermolam Plus) is about 1/4" up from the seat base and about 1/8" away from the sides, it is even at the top. I use tacky glue to glue the TP on.
I have the seat cushion just setting on the seat base so you can see where the TP will end.

Here is the chair without the seat cushion.

The second layer of TP is glued over the sides and top edges. The bottom is even with the first layer.

Another view.

Getting ready to upholster the back cushion.

Line up stripes if you have them.

Clip the fabric at the sides of the seat base.

I fold the clipped tab up.

I've glued the extra fabric onto the seat base using tacky glue.

I've glued the side fabric around the back cushion to the back.
Another view.

Now, pull the fabric away from the corners.

Trim the fabric at the top of the cushion and cut out "V" notches. The "V" notches take out extra fabric, helps eliminate some wrinkles.

Apply tacky glue to the top edge and press the fabric down making triangles at the corners. Pull the fabric tightly, not so tight as to distort.

Another view.

Turn the chair back around and we are going to operate on the corners.

Study this picture. I've cut into the corner taking out fabric up to the tip of the corner of the chair.
I have left a small bit of fabric.

I have trimmed this small bit of fabric even more.

Apply tacky glue into this fold of fabric and on the back of chair.

Pull on these bits of fabric to eliminate the folds at the corner and press down to seal.

View of the front.

Trace onto card stock and cut out the back cover pattern.
DRY FIT this piece to check if you need to trim it to fit. I don't know what fabrics you are using so it might fit a little differently than mine did.
Apply glue stick and press the card stock onto your fabric.

Trim the fabric as I have in the picture.

Smear tacky glue to the back of the chair, not to the bottom, though.
You could probably have the glue a little higher than I have mine.

Press the back cover onto the back of the chair.

The seat cushion is the extra seat base piece you cut and set aside. This is somewhere between 3/16" and 1/4" too deep for the seat now that we have the back cushion on. I measured between this amount and drew a line to cut on.

Use your craft knife to cut the extra length off.

Dry fit.

I ran my thumbnail along 3 edges of the seat cushion to soften the edges.
The edge that is not softened is the back edge.

This is what it looks like.

First layer of TP (Thermolam Plus) is about 1/4" smaller all around.
Use tacky to glue this on.

Second piece of TP is even all around.
Glue this on over the first layer.

The third layer is even at the back, the edge that was not softened with your thumbnail.
The rest of the TP is cut with extra to be glued to the front and sides of the seat cushion.

Apply tacky glue to the edge of the foam core and press the TP down to cover the front and sides.

The last piece of TP is glued on. This picture shows the back of the seat cushion, this is towards the back cushion.
Cut off the little triangles of TP that occurred when you folded it down onto the sides and front. These triangles will be at the front corners.

Another view.

Align your stripes if you have them.
Glue the fabric to the front and back.

I am going to do the same thing here that I did on the corners of the back cushion.
Pull the fabric away at the corners.

Glue the fabric down on the sides. You want to pull the fabric tight, but not so tight as to distort.
Trim out the extra fabric to the tip of the corner and trim the little bit of fabric at the top, the narrower the better.

Do this for all four corners.
Glue the corners down.
'
Smear tacky glue onto the seat base, all the way out to the edges.

Press the seat cushion on and hold until it tacks up.

For trim I used twisted embroidery floss. To make this the embroidery floss is twisted. This is easier to do with a little hand drill that has a bent brad (a nail with a no head) chucked up in the jaws. Tie one end of the floss to a hook or something and the other to the nail in the drill. Get a little distance between the two ends and turn the handle to twist the floss. I can't tell you how much to turn, this is something you learn by doing. After you have twisted, grasp the floss in the middle with your other hand, you are still holding the drill. Bring the drill to the other end of the floss. Start the floss twisting back on itself and let go. You can do this by hand without using the drill for short pieces.
This piece of trim took 36 inches of floss to start with.
You can also use piping. I have a piping tutorial listed in the "Things to do, Things to see" list at the left of the blog.

Glue the trim onto the chair using tacky glue.
You can change the shape of the top of the back of the chair. You can make the skirts flat on the bottom, you can make the skirts shorter if you like.
I want to wish all of my U.S. followers HAPPY THANKSGIVING.
If you have any questions please send them to camceiling@frontiernet.net.
If you have pictures of finished tutorials please send them to the same address.
Have fun, Expand on it, Make it better . . . .
Just Keep Making Minis!!
TTUL
Kris