


Trace the pattern onto your lining fabric. Cut out on the traced line.

In this picture I am tracing the double pattern. I am matching the middle.

The pencil line is light, but I think you can see that I've traced the double pattern onto the lining fabric.

I've cut out both the single and double patterns. I am using the same fabric for the lining as my "valance" fabric. You could use a different fabric for the lining for contrast.

This fabric is the "valance" fabric, the fabric that will show.
For the single valance cut a piece 8-1/2 (216mm) x 7-1/4" (185mm).
For the double valance cut a piece 15-1/4" x 7-1/4". I am sorry I don't have the CM measurement right now. Please Google a conversion for that measurement.

Trace just the bottom of the patterns.
Trace on the right side of the fabric.

Now, measure and draw a new line 1/8" (3mm) from your original line.

Apply a line of glue onto the original line.

I use Aleene's No-Sew Fabric Glue.
I know it says temporary, but I use this all of the time and for miniatures it stays together. We are going to machine wash these curtains, I least I don't think I will. This glue usually doesn't soak through and leave marks behind.

With right sides together, lay the lining onto your valance fabric with the lining on the second line you drew.
You will have a little extra fabric that you will have to "ease" in, distribute the fabric evenly and press with a hot iron to seal the glue.

Trim the extra valance fabric from the bottom.

Cut "V" notches into the "seam allowance". Remember it's only an 1/8 of an inch, don't cut too deep.
These notches allow the curves to be turned and lay flat.

I've turned the valances to the right sides and pressed with a hot iron.

Lay the pattern onto the lining side of the valance matching the bottom. Trace the pattern onto the wrong side of the valance fabric.

I've traced both patterns onto my fabric.

I have no idea why this silly blogger with turn some of my pictures. We will just have to deal with it!
Now, measure from the line you just drew and on the sides add an 1/8" (3mm) and draw a new line.
Measure from the line you just drew and add 7/16" (11mm) to the top outside edge and draw a new line.

This picture worked!
This is showing the double valance with the new lines drawn.
This is the casing we are adding on.

Measuring from the raw edge of the lining, measure 3/8" (1cm) and draw another line.

Trim that 3/8" off the lining.
We don't need any bulk included in the casing.

Apply glue to this edge and seal with a hot iron.

Fold over the 1/8" on each side of the valance.
Seal with a hot iron.

The sides have been glued down.

To make the casing lay flat when folded you will have to cut 3 "V" notches at the top and make 1 cut into each bottom curve.
For the double pattern you will have to make about 3 cuts in the middle to get the curve to lay flat.

Use the pattern as a guide to fold the casing over. Be careful and don't burn your fingers.

This pictures shows the casing pressed into place.

Apply glue to the edge of the casing and press with a hot iron to seal.

Do you see the notch that the cut left? We have to fill that in or the casing will be loose in that area and we will see it on the right side.

This is in the middle of the double valance.

Cut a curved piece of fabric and apply glue to the edges of the "V" notch.

Glue the curved piece of fabric to the casing.
Now, glue the bottom of this piece of fabric down like the rest of the casing.

I have the middle done on the double valance.

Press the valances with a hot iron to finish.

Cut the mat board 1/4" (7mm) wide.
For the double pattern cut the mat board 12-5/8" long. Please use a Google conversion for this measurement. Mark the center at 6-5/16 (160mm). From each side of the center mark measure 2-13/16" (72mm). From these new marks measure a 1/2" (12mm).
With back of your craft knife score on all of the lines except the center.

For the single pattern valance cut the mat board at 1/4" wide.
Cut the mat board 9" (228mm) long.
Mark the center at 4-1/2" ( 114mm). Measure from each side of center 1-7/8" (48mm) and make marks.
From these new marks measure 1/2".
With the back of your craft knife score on all lines except the center.
You can change these measurements to suit your tastes.

Thread your curtain rod through the casing.
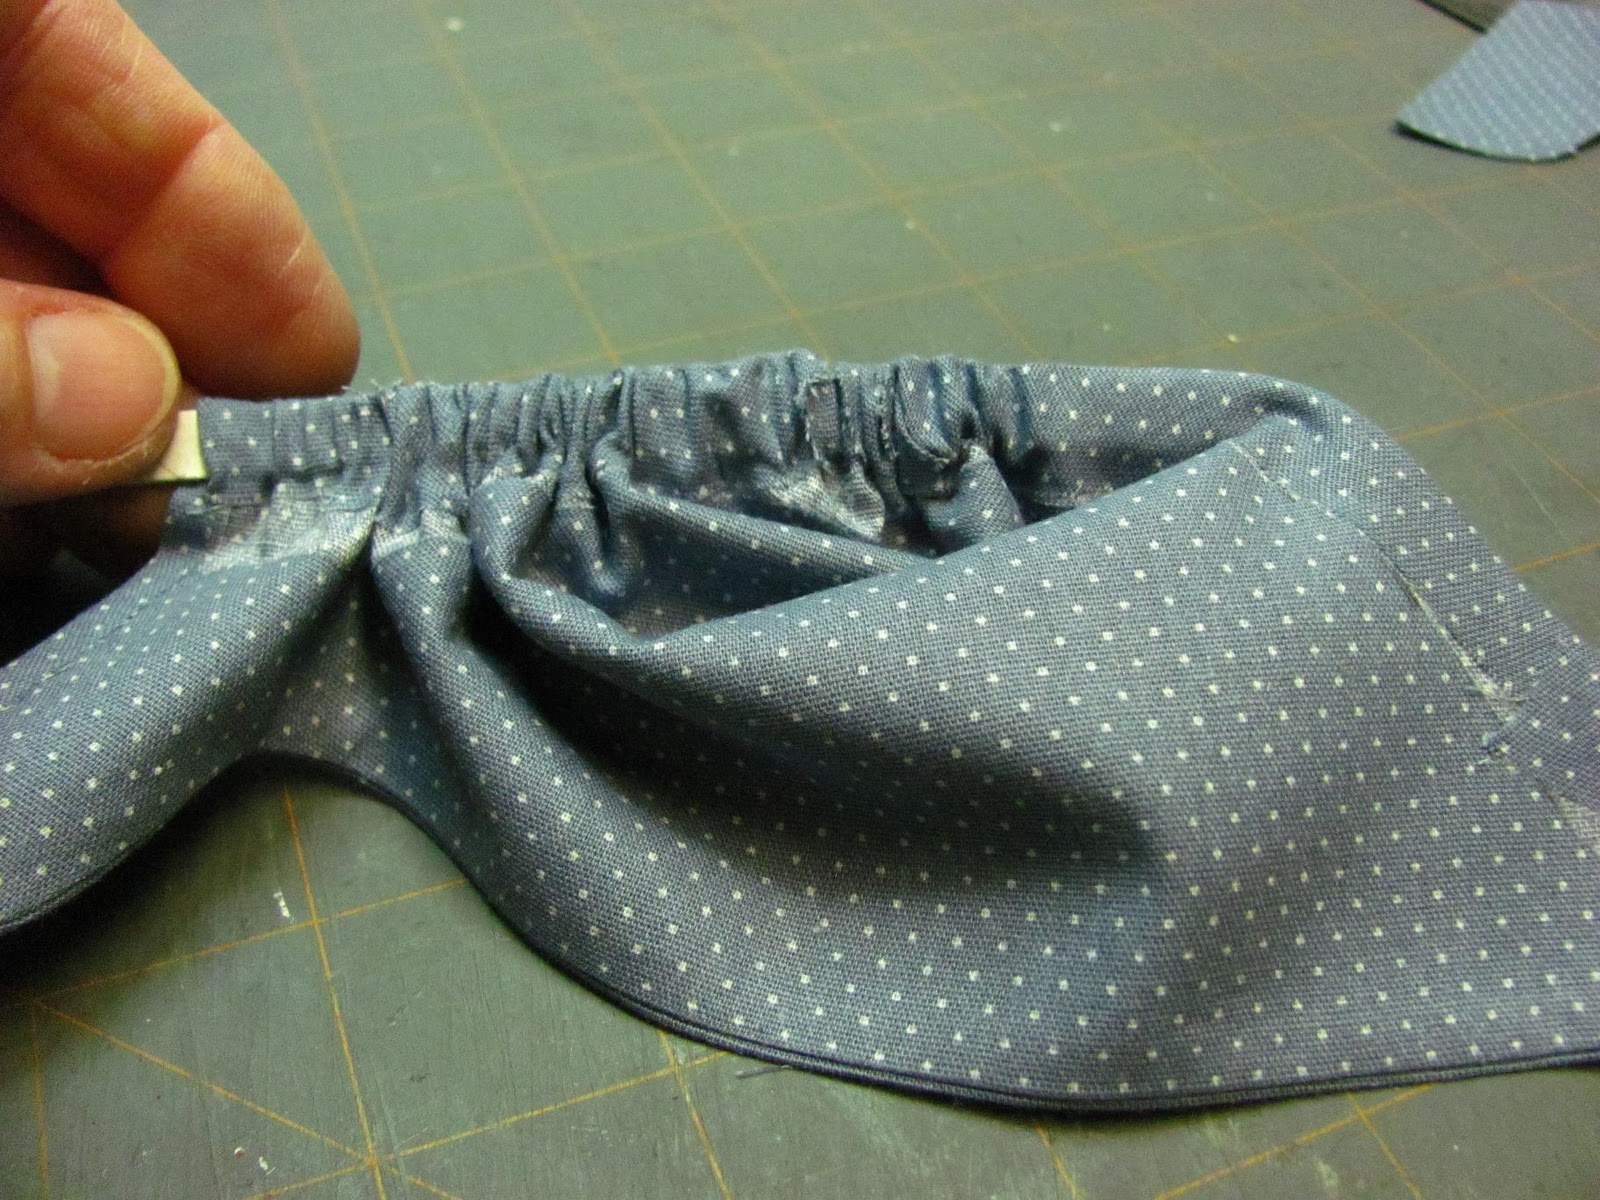
Ease the fabric through curves carefully.

I glued the valance at the last mark on each side.
I put the shortest length, the part right before the tail, at the corner of the curtain rod.

Overlap the mat board at the back. Make sure your front and back are the same length.

This is the double valance.
Do you see the shortest length at the corners? The valance ends the the last mark you made. The 1/2" stands out from the wall.

The folded mat board makes a box to hold the draperies. That's the 1/2" we measured that's holding the draperies.
When you have your draperies made just glue them into the box and glue the whole assembly to the top of your window.

I am going to let you follow the excellent directions with the Pretty Pleater for your draperies.
I hope you are as happy with the results as I was! TTYL Kris
Have fun, expand on it, make it better . . . . .Just keep making minis! ! !